Getting started
Get started with PocketRatio
PocketRatio shows what your medical bills actually cost relative to your income. Set it up in under two minutes.
What is PocketRatio?
The one number that puts medical costs in context.
Your out-of-pocket ratio
Monthly medical spend ÷ Monthly income
Example: $820 ÷ $5,760 = 14.2%
A ratio below your cap means you're on track. Above it means medical costs are taking a larger share of income than planned — useful to know before an unexpected bill becomes a surprise.
Ratio tracking
Spend vs. income — always visible, never calculated manually.
Expense categories
Medication, Direct care, Lab, Premium, and Other.
iCloud sync
Data lives on your device and syncs privately with iCloud.
Budget alerts
Set a monthly limit and get notified when you approach it.
Set up your profile
PocketRatio needs your income and budget to calculate your ratio. Takes less than a minute.
Your data stays private. PocketRatio doesn't connect to your bank or insurer. You enter values yourself — everything is stored on your device and in iCloud.
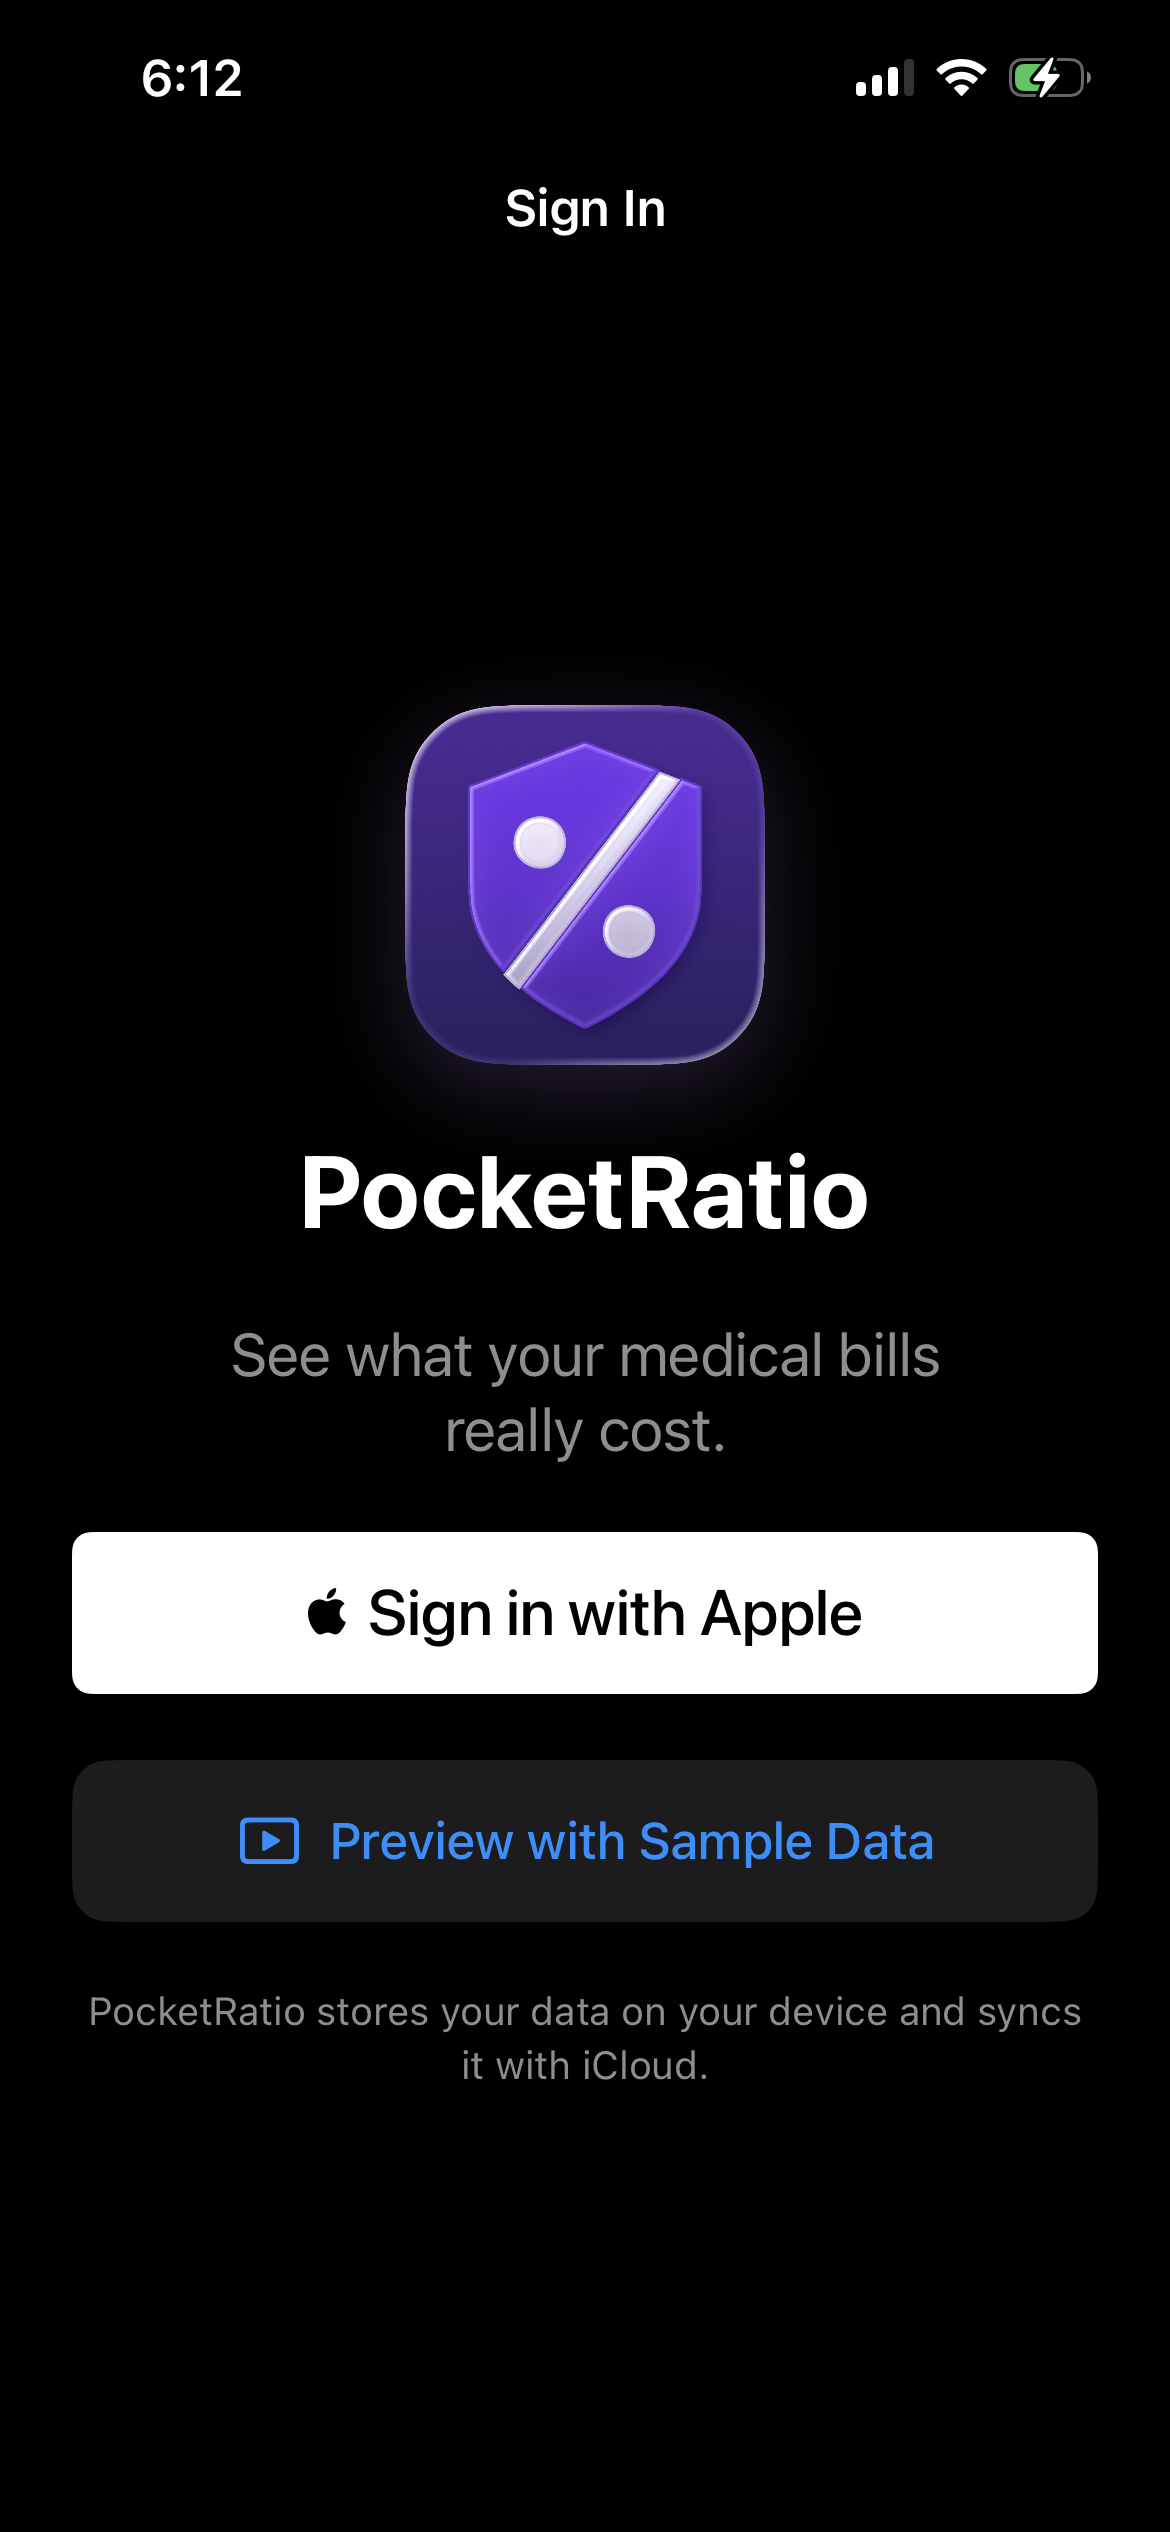
Sign in with Apple
Open PocketRatio and tap Sign in with Apple. This creates your account using your Apple ID — no separate password needed. Tap Preview with Sample Data to explore the app first.
Enter your income and budget
PocketRatio asks for your monthly income, monthly medical budget, and annual out-of-pocket cap. These three numbers power every ratio calculation. Tap Skip for now to add them later in Manage.

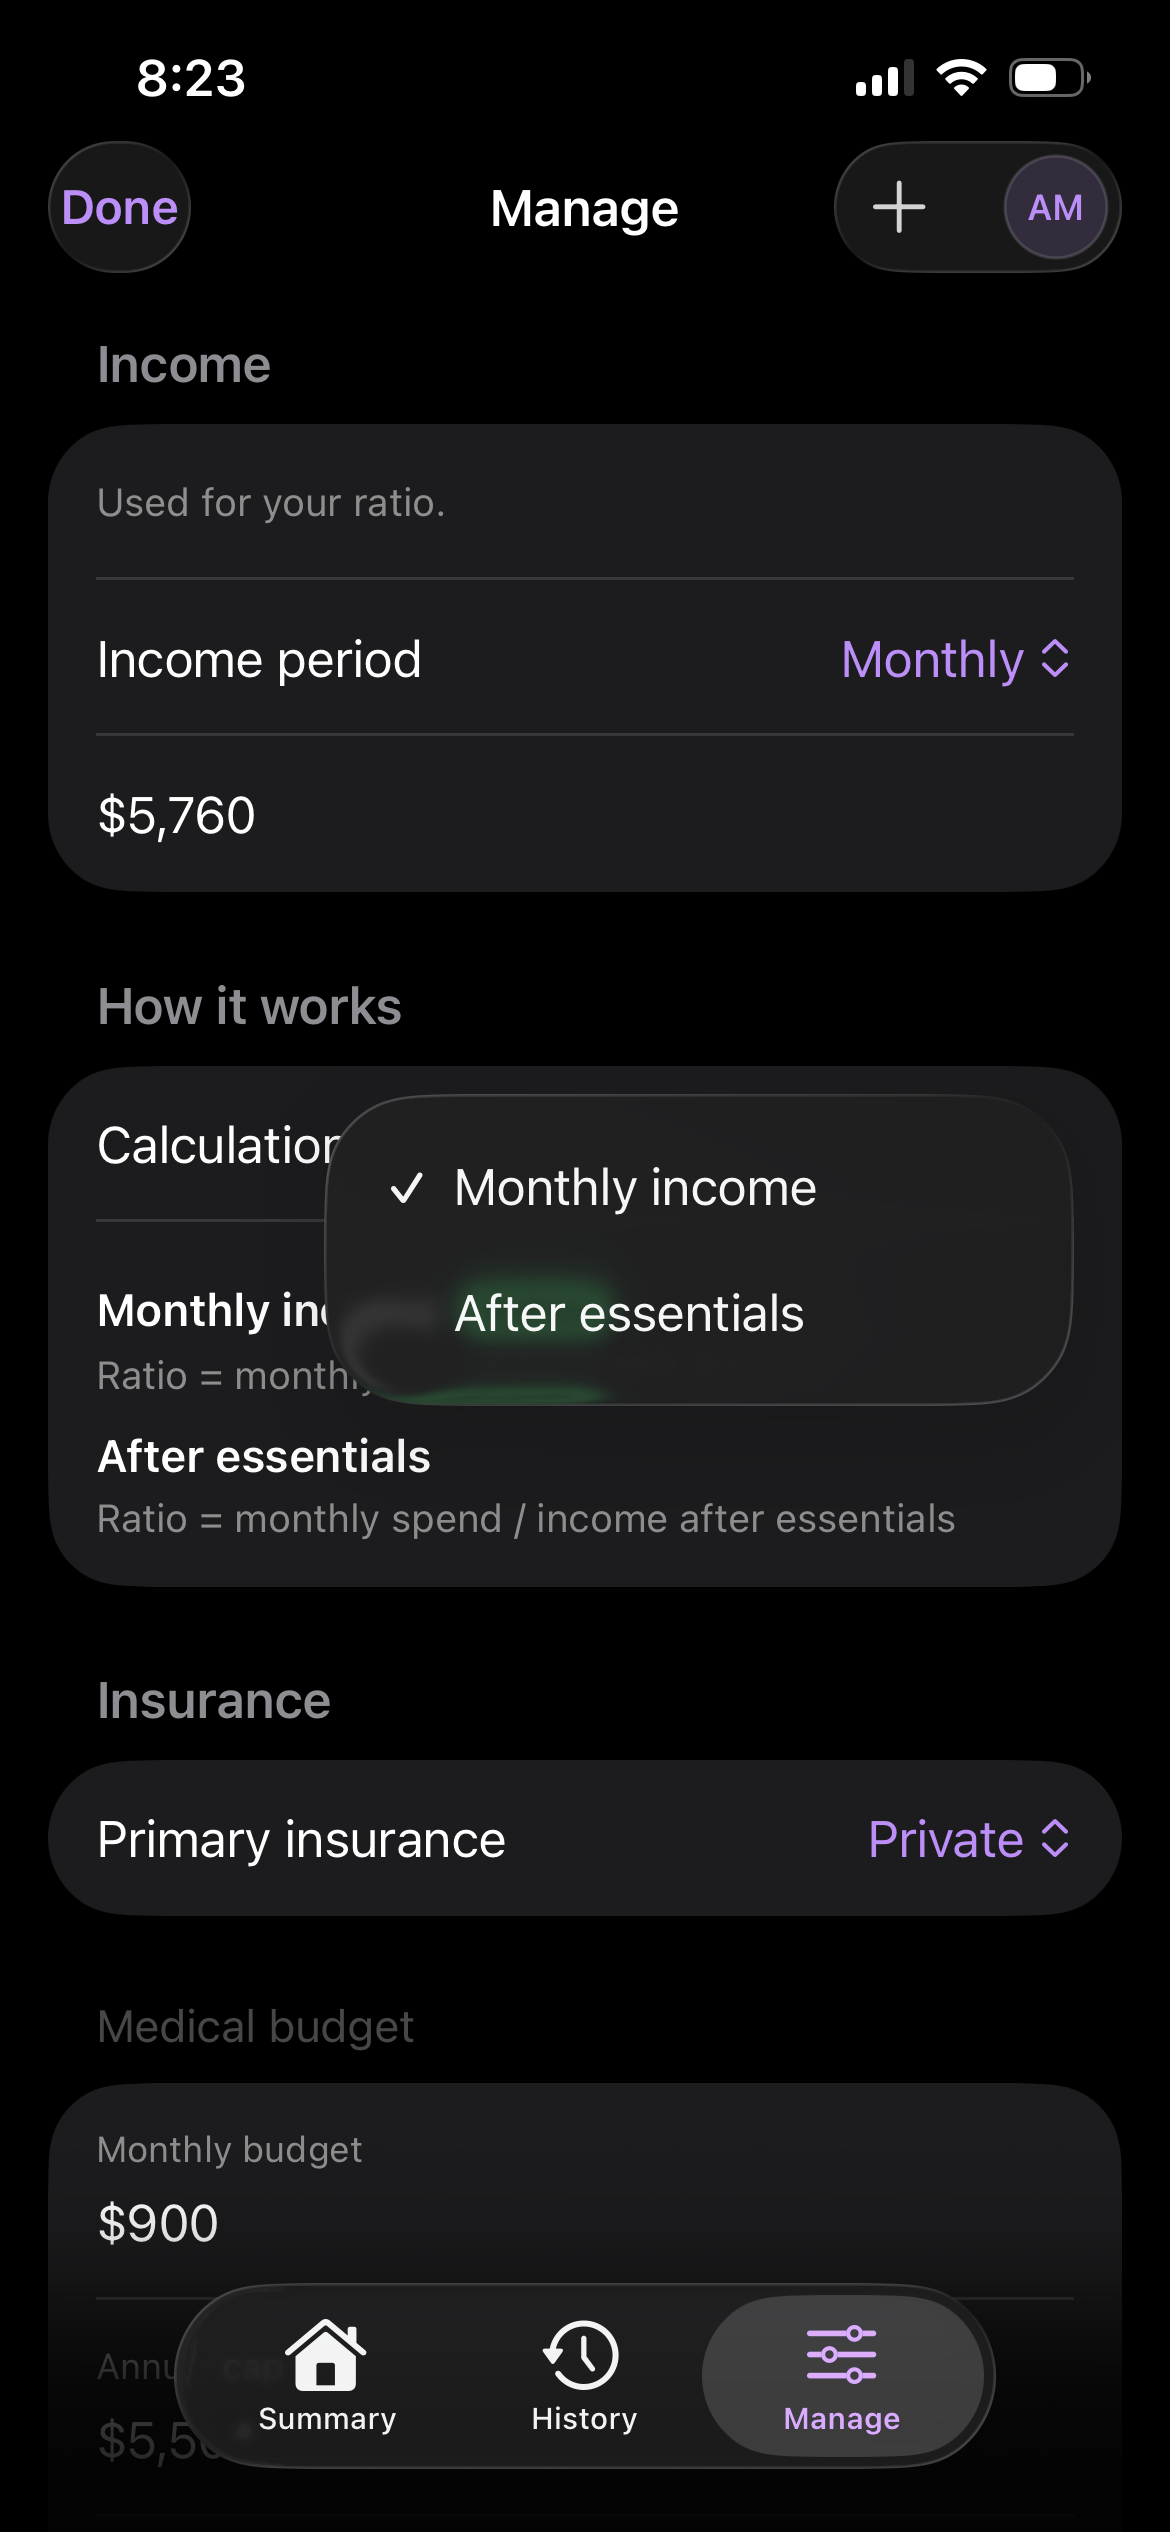
Choose your income model
In Manage → How it works, pick how your ratio denominator is calculated:
Monthly income
Ratio = monthly spend ÷ gross income. Best for most people.
After essentials
Ratio = monthly spend ÷ income minus fixed costs. A stricter view.
Add an expense
Log a medical bill in seconds. Your ratio updates immediately.
Tap the + button
The + button sits in the top-right corner of every tab — Summary, History, and Manage. Tap it from anywhere to open the Add Expense sheet.
Fill in the details
Enter the amount, date, merchant name, and choose a category:
Add optional notes for EOB numbers or insurance references. Enable Installment to split a large bill across multiple months.
Save — your ratio updates instantly
The Summary tab recalculates your ratio, monthly spend, and budget usage the moment you save. No refresh needed.
Mark as done or archive. Once a bill is paid, open the expense and tap Mark as done. To remove it from your active view without deleting it, tap Archive. Both actions keep the full record in History.
Summary tab
Your financial health at a glance — ratio, budget, trends, and recent expenses.

What you see
Monthly spend — your total for the current month, with a status badge (On track / Near limit / Over budget).
Out-of-pocket ratio — spend as a percentage of income, measured against your cap.
Annual out-of-pocket — how close you are to your insurance plan's annual limit.
Categories chart — spend breakdown by type this month.
Spending trend — 6-month bar chart with your budget line and a plain-language monthly insight.
Search directly from Summary. Tap the Search expenses bar at the top. Dashboard cards slide away and results appear immediately — no need to switch tabs.
History tab
Every expense, grouped by month. Search, filter, and edit from one place.
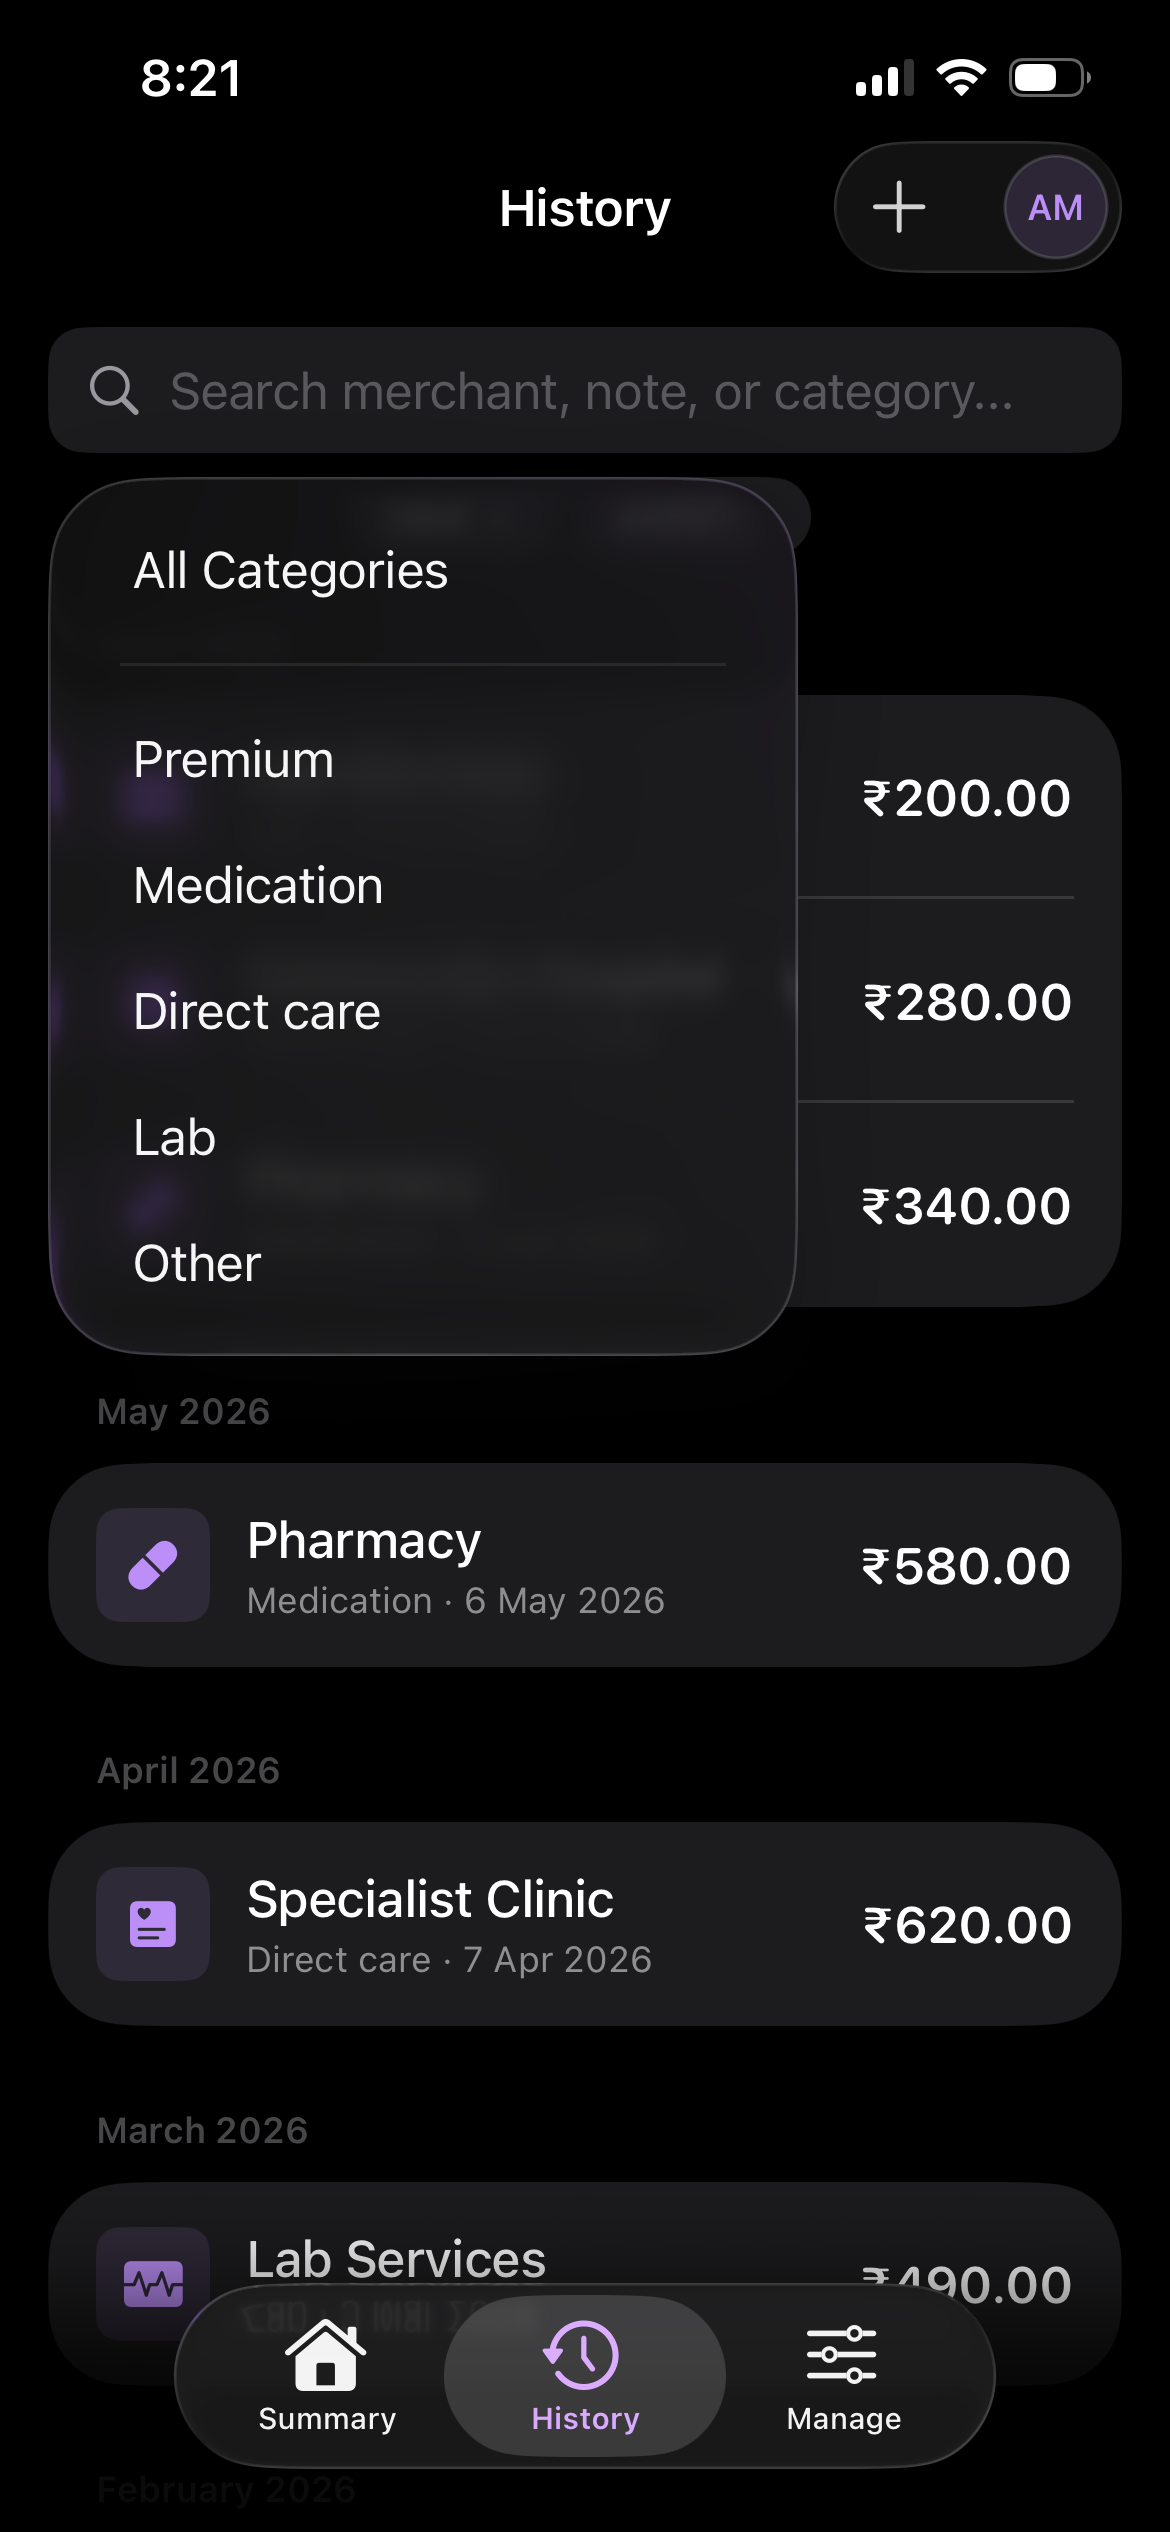
Finding what you need
Search bar — type a merchant name, note, or category keyword. Results appear as you type. Tap Cancel to exit search.
Category filter — tap the pill below the search bar to show only one category at a time.
Date range — filter by This Month, Last 3 Months, YTD, or All.
Status filter — show Active, Done, or Archived expenses separately.
Tap any expense to edit, archive, mark done, or delete it.
Manage tab
Update your income, budget, calculation model, currency, and data settings.
Settings you'll use
Income — your monthly or annual income, used to calculate the ratio.
How it works — choose Monthly income or After essentials as the denominator.
Medical budget — your monthly spending limit. An alert fires when you approach it.
Currency — pick a common currency or type any 3-letter ISO code (USD, INR, EUR, JPY, etc.).
Sync — shows your iCloud connection status. Data stays on-device and syncs automatically.
To change any setting, tap Edit in the top-left corner of the Manage tab. Tap Done to save. Changes take effect immediately.
Add the widget to your Home Screen
See your ratio and monthly spend without opening the app.
Enter jiggle mode
Long-press any empty area on your Home Screen until icons start wiggling. The screen enters edit mode.
Tap the + button
Tap the + in the top-left corner (iOS 16+) or top-right (iOS 14–15). The widget gallery opens.
Search for PocketRatio
Type PocketRatio in the search field. The app appears in results.
Choose a widget size
Swipe through available sizes — Small shows your ratio and spend, Medium adds a category breakdown. Tap Add Widget.
Drag to position, then tap Done
Place the widget anywhere on your Home Screen or Today view. Tap Done to exit edit mode. The widget refreshes automatically.
Widget not showing data? Open PocketRatio once after sign-in to trigger the first background refresh — usually takes under a minute.
Lock Screen widget (iOS 16+). Long-press your Lock Screen → Customize → tap the widget area below the clock → select PocketRatio to show a compact ratio indicator.
Siri Shortcuts
Automate common actions with Siri or the built-in Shortcuts app.
PocketRatio exposes actions to the iOS Shortcuts app. Trigger them by voice, build automations, or pin them as a Home Screen shortcut.
Add Expense
Opens PocketRatio directly to the Add Expense sheet. Ideal as a Home Screen shortcut.
View Summary
Jumps straight to the Summary tab with your current ratio.
View History
Opens the full expense History tab.
How to set up a Shortcut
Open the Shortcuts app
Find Shortcuts on your iPhone — it's built into iOS, no download needed. Tap + to create a new shortcut.
Search for PocketRatio actions
Tap Add Action, then search for PocketRatio. Available actions appear under Apps.
Name your shortcut
Tap the action to add it, then tap the name at the top to rename it — for example, "Log a bill". Tap Done.
Add to Home Screen or use Siri
To pin to Home Screen: tap ··· on your shortcut → Add to Home Screen. To trigger by voice: say "Hey Siri, log a bill" (or whatever you named it).
Automate with location. In Shortcuts go to Automation → + → Personal Automation → Arrive at Location. Set a pharmacy or clinic — PocketRatio will prompt you to log an expense each time you arrive.
Common questions
Answers to things people ask most often.
Is my data shared with anyone?
No. PocketRatio doesn't send your data to any server. Everything lives on your device and syncs to your private iCloud account using encrypted storage.
What's the difference between ratio cap and budget?
Your budget is a monthly dollar limit (e.g., $900). Your ratio cap is the percentage of income you're comfortable spending on medical costs. Budget measures absolute spend; ratio measures spend relative to what you earn.
How do installment expenses work?
Enable Installment on an expense, enter the total amount and the number of months. PocketRatio divides the cost evenly — a $1,200 bill over 6 months counts as $200 per month toward your ratio and budget.
What does "Archive" do?
Archiving removes an expense from your active Summary view and budget calculations, but keeps the full record in History. Use it for resolved, disputed, or old bills you no longer want counted.
How do I change my currency?
Go to Manage → Edit → Currency. Pick from common options (USD, EUR, GBP, INR, JPY) or type any 3-letter ISO 4217 code.
The widget shows old data — how do I refresh it?
iOS controls widget refresh timing. Open PocketRatio briefly to signal a refresh. If data is still stale after an hour, remove and re-add the widget from your Home Screen.
Can I use PocketRatio without signing in?
Yes. Tap Preview with Sample Data on the sign-in screen to explore with pre-loaded demo expenses. Data won't persist between sessions in demo mode, and iCloud sync isn't available.
How do I export my expenses?
Go to Manage → Data → Export as CSV. This creates a spreadsheet with all your expenses — merchant, amount, date, category, notes, and status — you can open in Numbers or Excel.